Duramax Valve Adjustment
This guide apply's to all generations of Duramax 6.6 Engine from 2001 - 2024

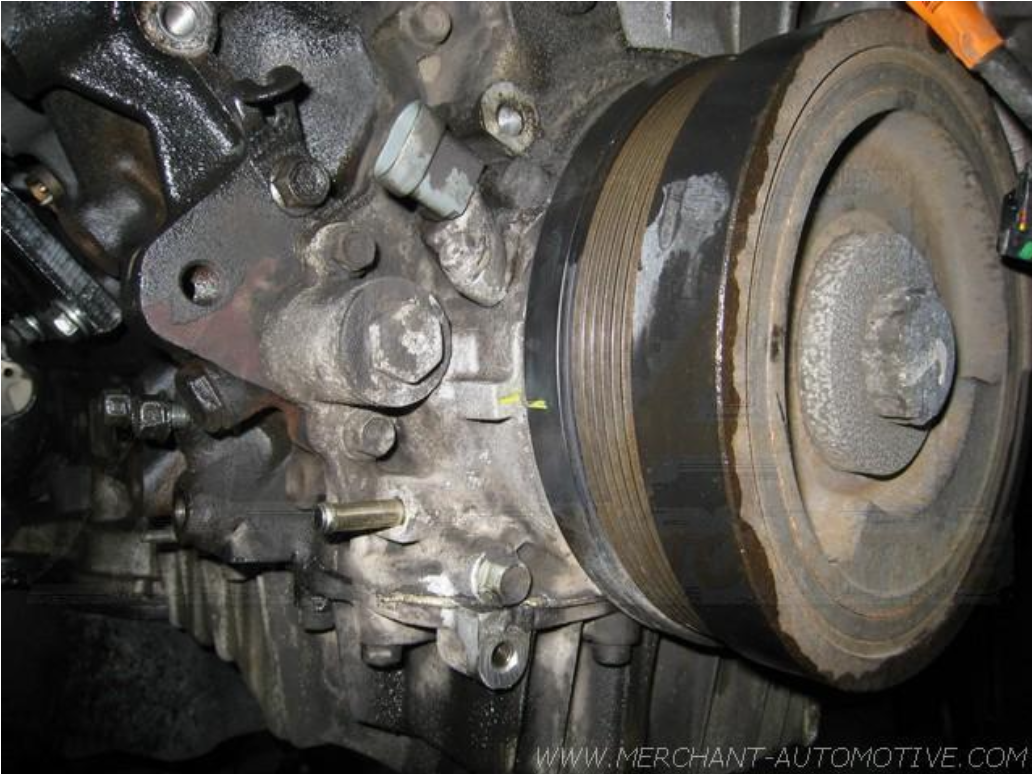
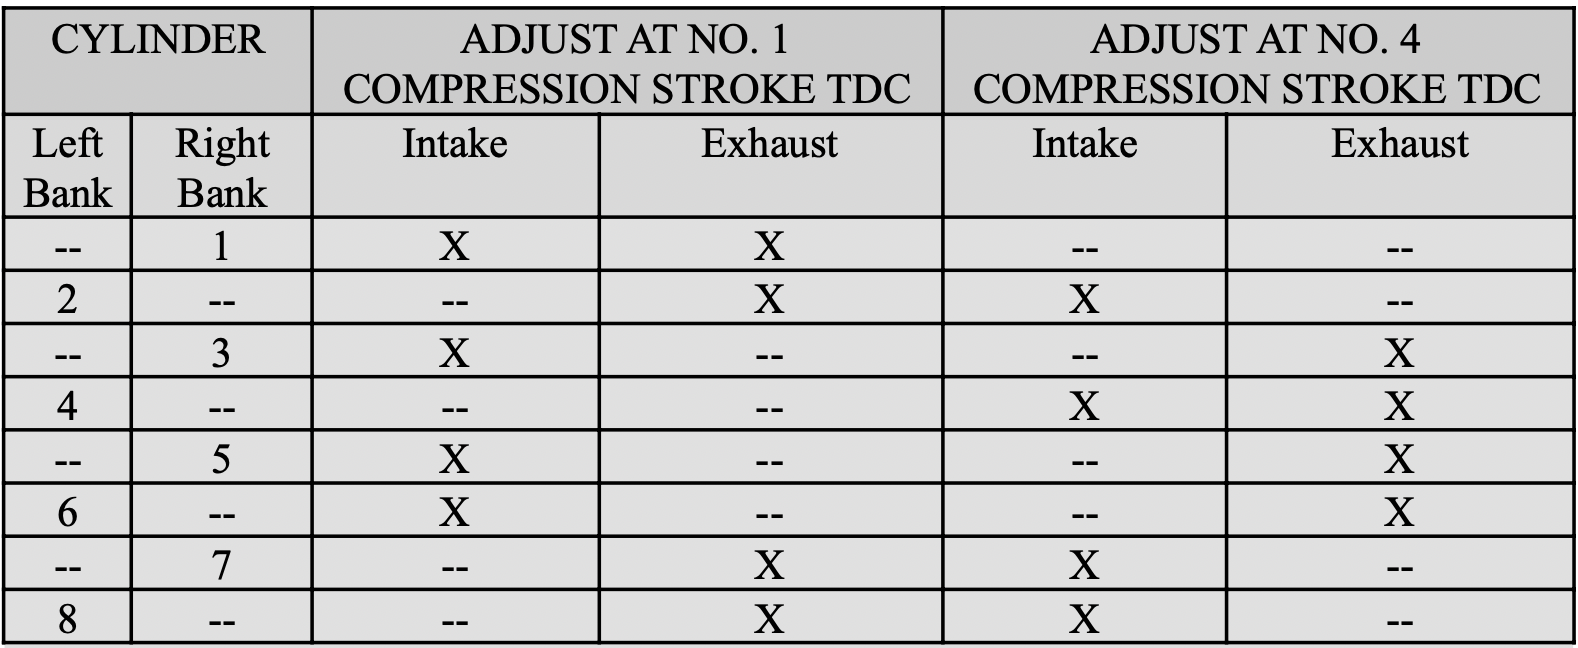
Valve adjustment should be performed any time the heads are removed. Its also good practice to adjust valves during service that requires valve cover removal. To start with, locate the timing mark on the front cover and the harmonic balancer. I have them highlighted with yellow paint for visibility. Always rotate the balancer in a clockwise direction as you are looking at it from the front. While rotating the engine over, watch the rocker arms on the number 1 cylinder.They should not be moving for the last 90 degrees of rotation as you align the marks. If they are moving as the marks come together, you are on TDC for number 4 cylinder. Refer to the handy table shown below for the sequence to adjust the valves. You may choose to print it out for a handy assembly tool. The “I” designates the intake valve, which is the short rocker arm. The “E” designates the exhaust valves, which are the long rocker arms.

Adjust valves shaded in RED when cylinder number 1 is on TDC
Adjust valves shaded in YELLOW when cylinder number 4 is on TDC

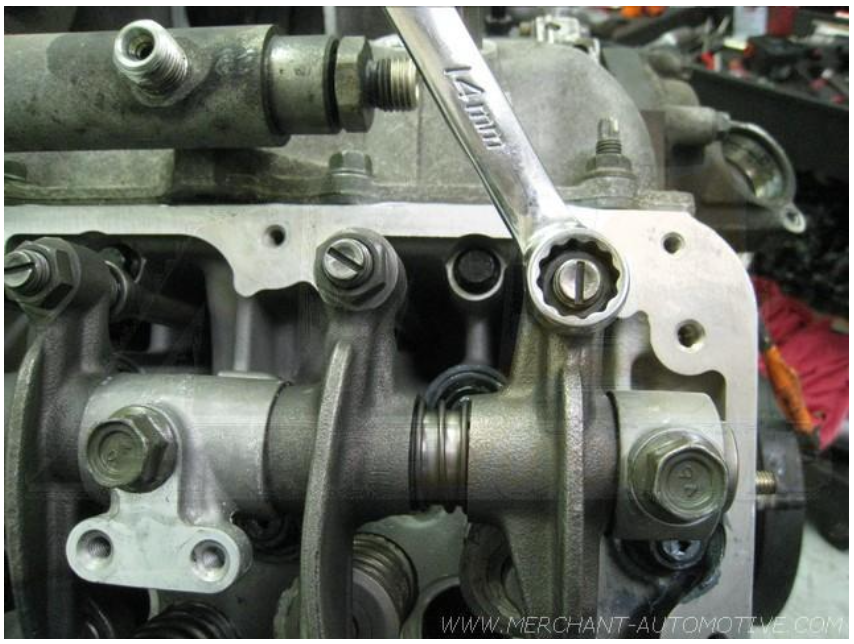
To adjust the valves, start by loosening all of the jam nuts with a 14mm wrench. You will also need a straight blade screwdriver to make the adjustment.

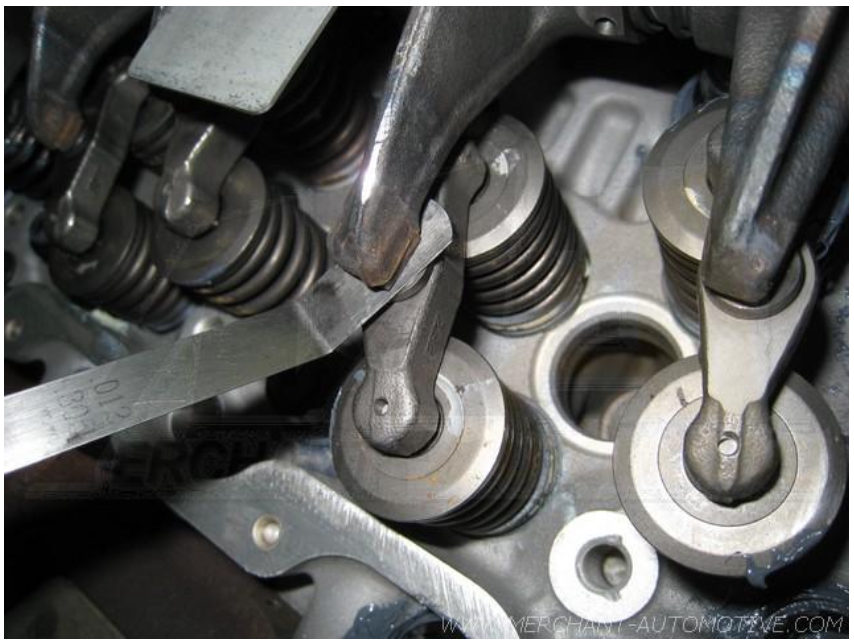
Use your .012” feeler gauge between the rocker arm and the valve bridge as pictured. The correct setting is had when there is slight resistance when moving the feeler gauge. It should not be so tight that the gauge can not be removed. Once the proper setting is made, tighten the jam nut while holding the adjustment screw. Verify that your setting has stayed after tightening the jam nut.
After going through all the valves, rotate the engine over about 10 times by hand in a clockwise direction. Now, bring cylinder number 1 back to TDC and recheck your adjustments. You may find that some have loosened up a bit, go ahead and readjust them to spec.

