Replacing the NSBU Switch on the Allison 1000 Series Transmission: A Comprehensive Guide
For owners of vehicles equipped with the Allison 1000 series transmission, such as the 2001-2004 GM Duramax and 8.1 equipped Silverado and Sierra, knowing how to replace the NSBU (Neutral Safety Back Up) switch is crucial for maintaining smooth performance. This step-by-step guide walks you through the process, offering practical tips and solutions to common challenges along the way.
Preparation: Getting Started
Before you begin the NSBU switch replacement on your Allison 1000 transmission, gather the necessary tools. You’ll need a screwdriver, socket set, and a heat gun. Having these ready will help you avoid unnecessary delays and make the process smoother.
Step 1: Accessing the Shift Linkage
Start by using a screwdriver to pop off the shift linkage. This step is vital as it gives you access to the shift lever of your GM Duramax or 8.1 equipped Silverado or Sierra. Next, loosen the nut that secures the shift lever. Move the lever into park, then down two clicks into neutral. This ensures the vehicle is in neutral for the subsequent steps.
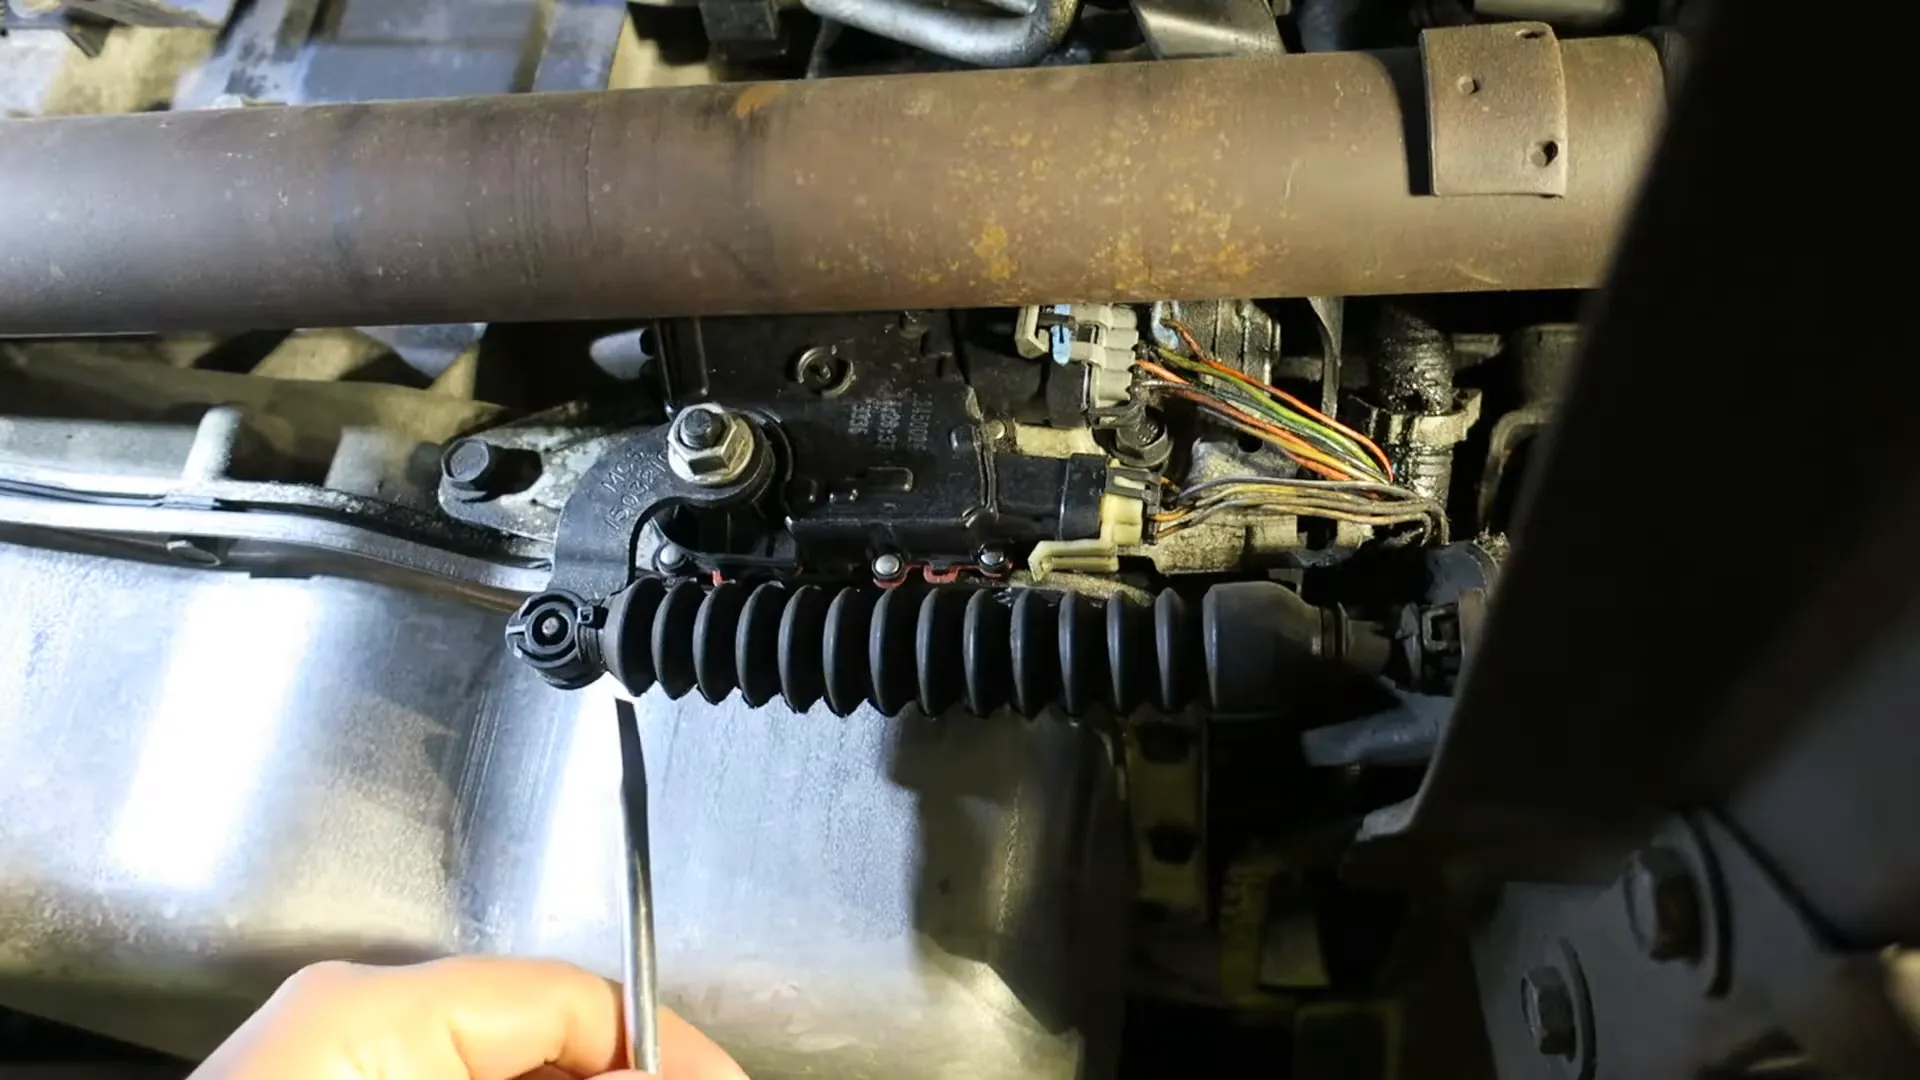
Step 2: Disconnecting the Wire Connectors
With the transmission in neutral, you can now remove the wire connectors from the NSBU switch. These connectors on the Allison 1000 series transmission may be difficult to unplug due to sealer buildup over time. Use a heat gun to soften the sealer without overheating the connectors, ensuring they come apart without damage.
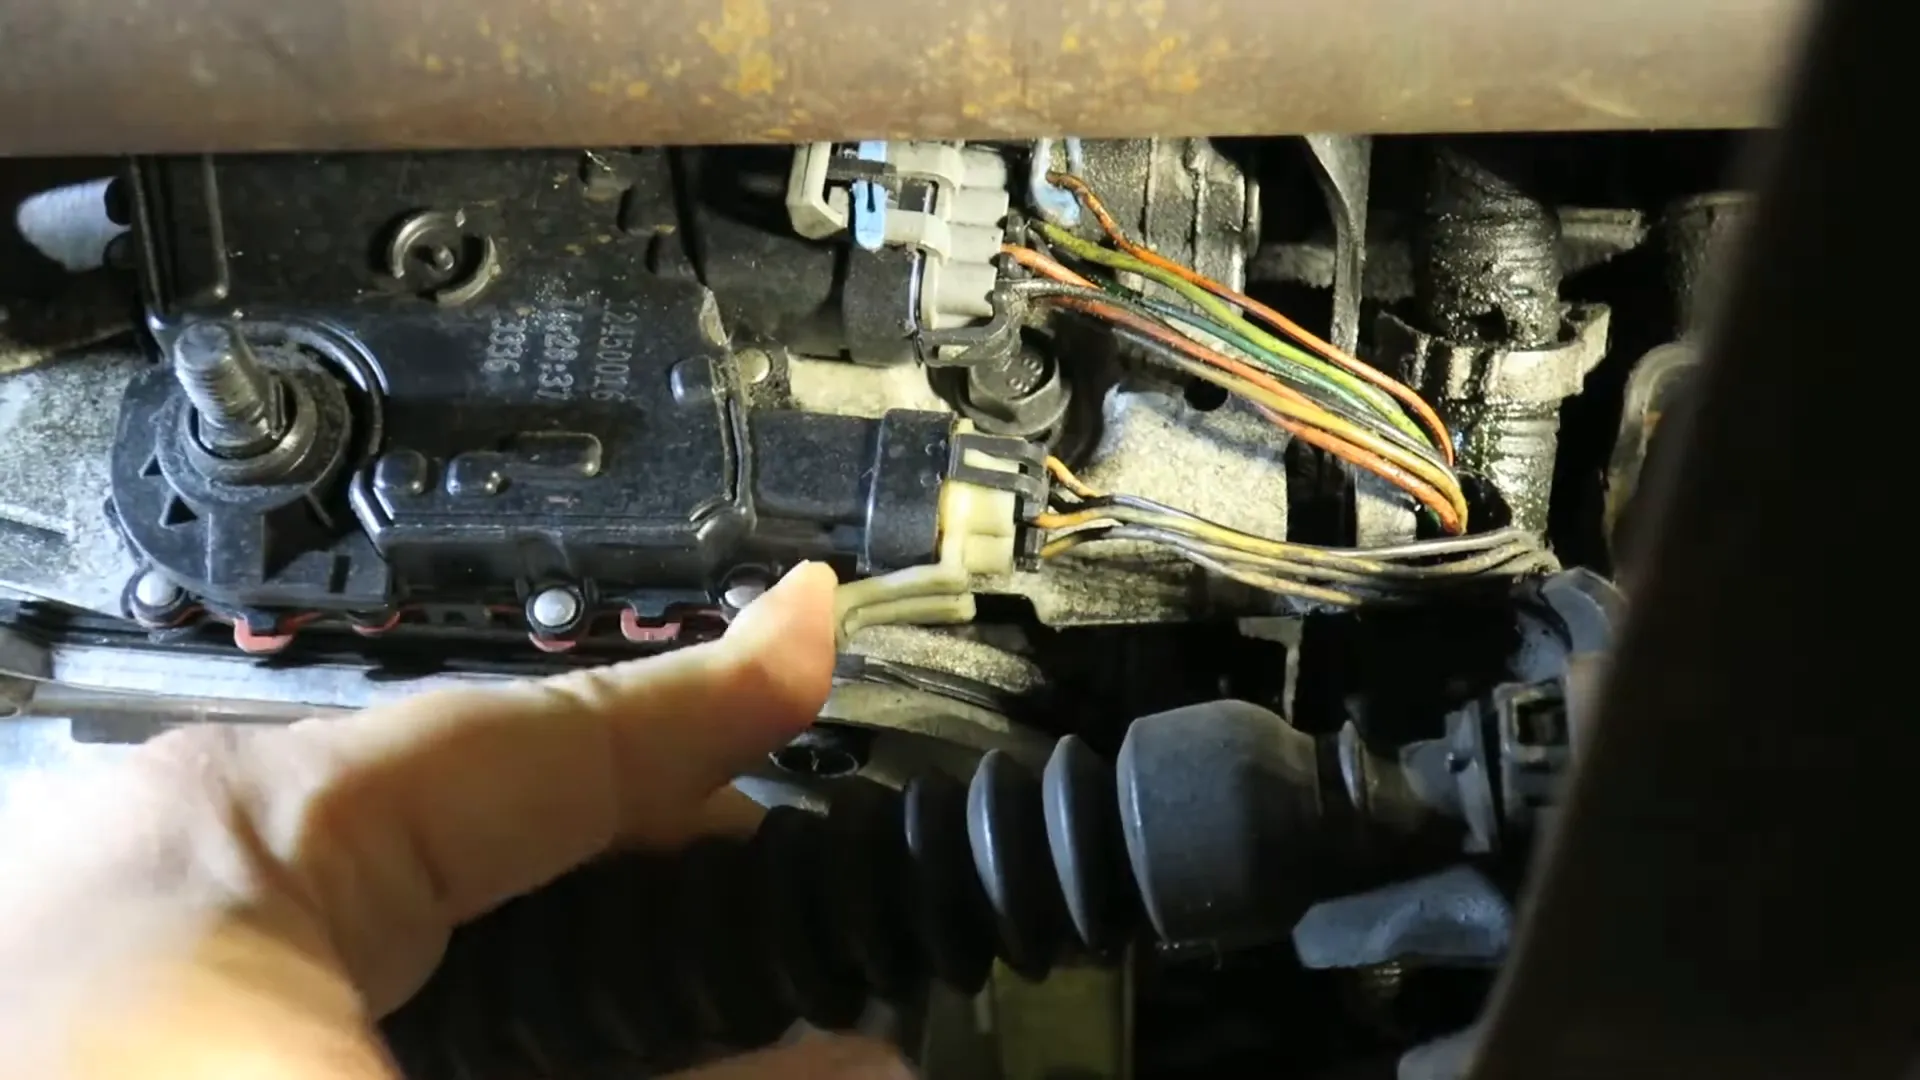
Removing the Old NSBU Switch
After the connectors are removed, use a socket to take out the two bolts holding the switch in place. With some gentle wiggling, the NSBU switch will come off the Allison 1000 transmission. Be patient as this step can require some finesse.
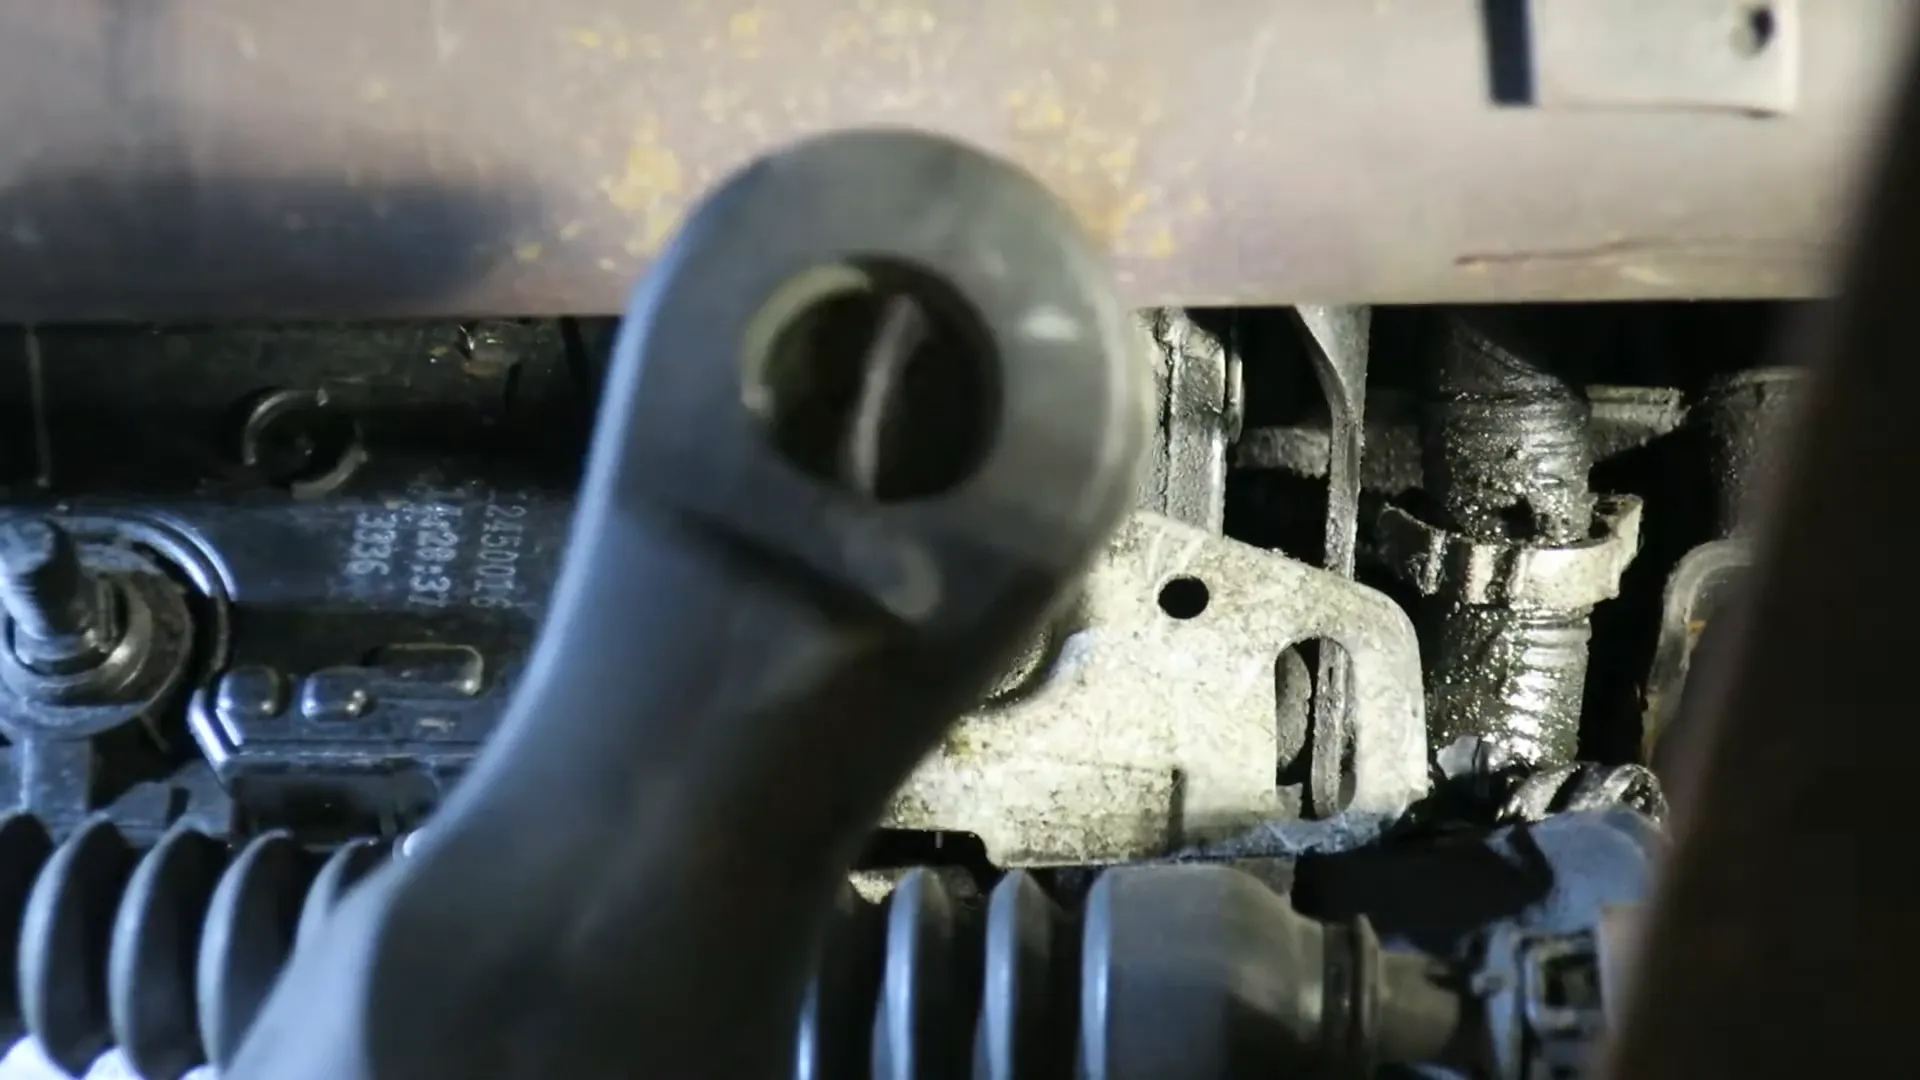
Inspecting the Shaft
After removing the switch, inspect the shaft of your GM Duramax or 8.1 equipped Silverado/Sierra transmission for any burrs. Burrs can damage the new switch during installation, so use a file to smooth them out.
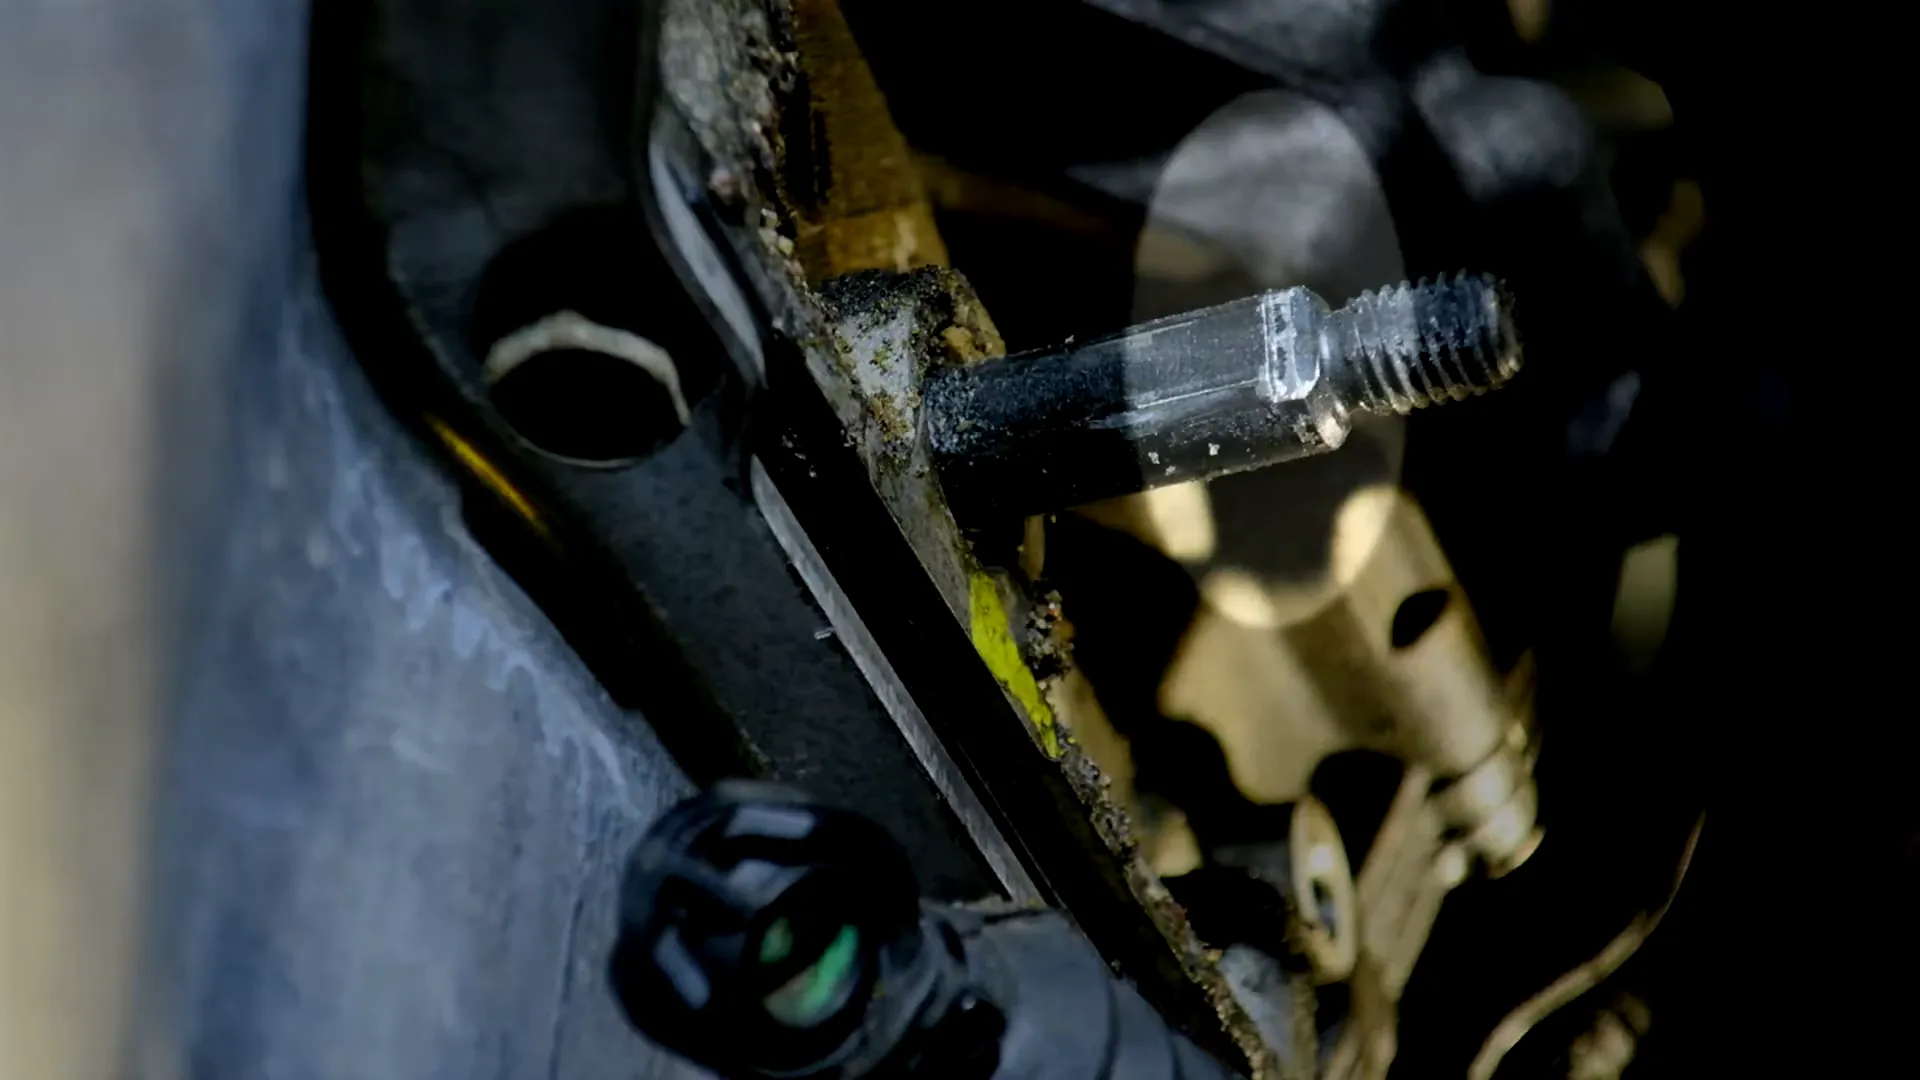
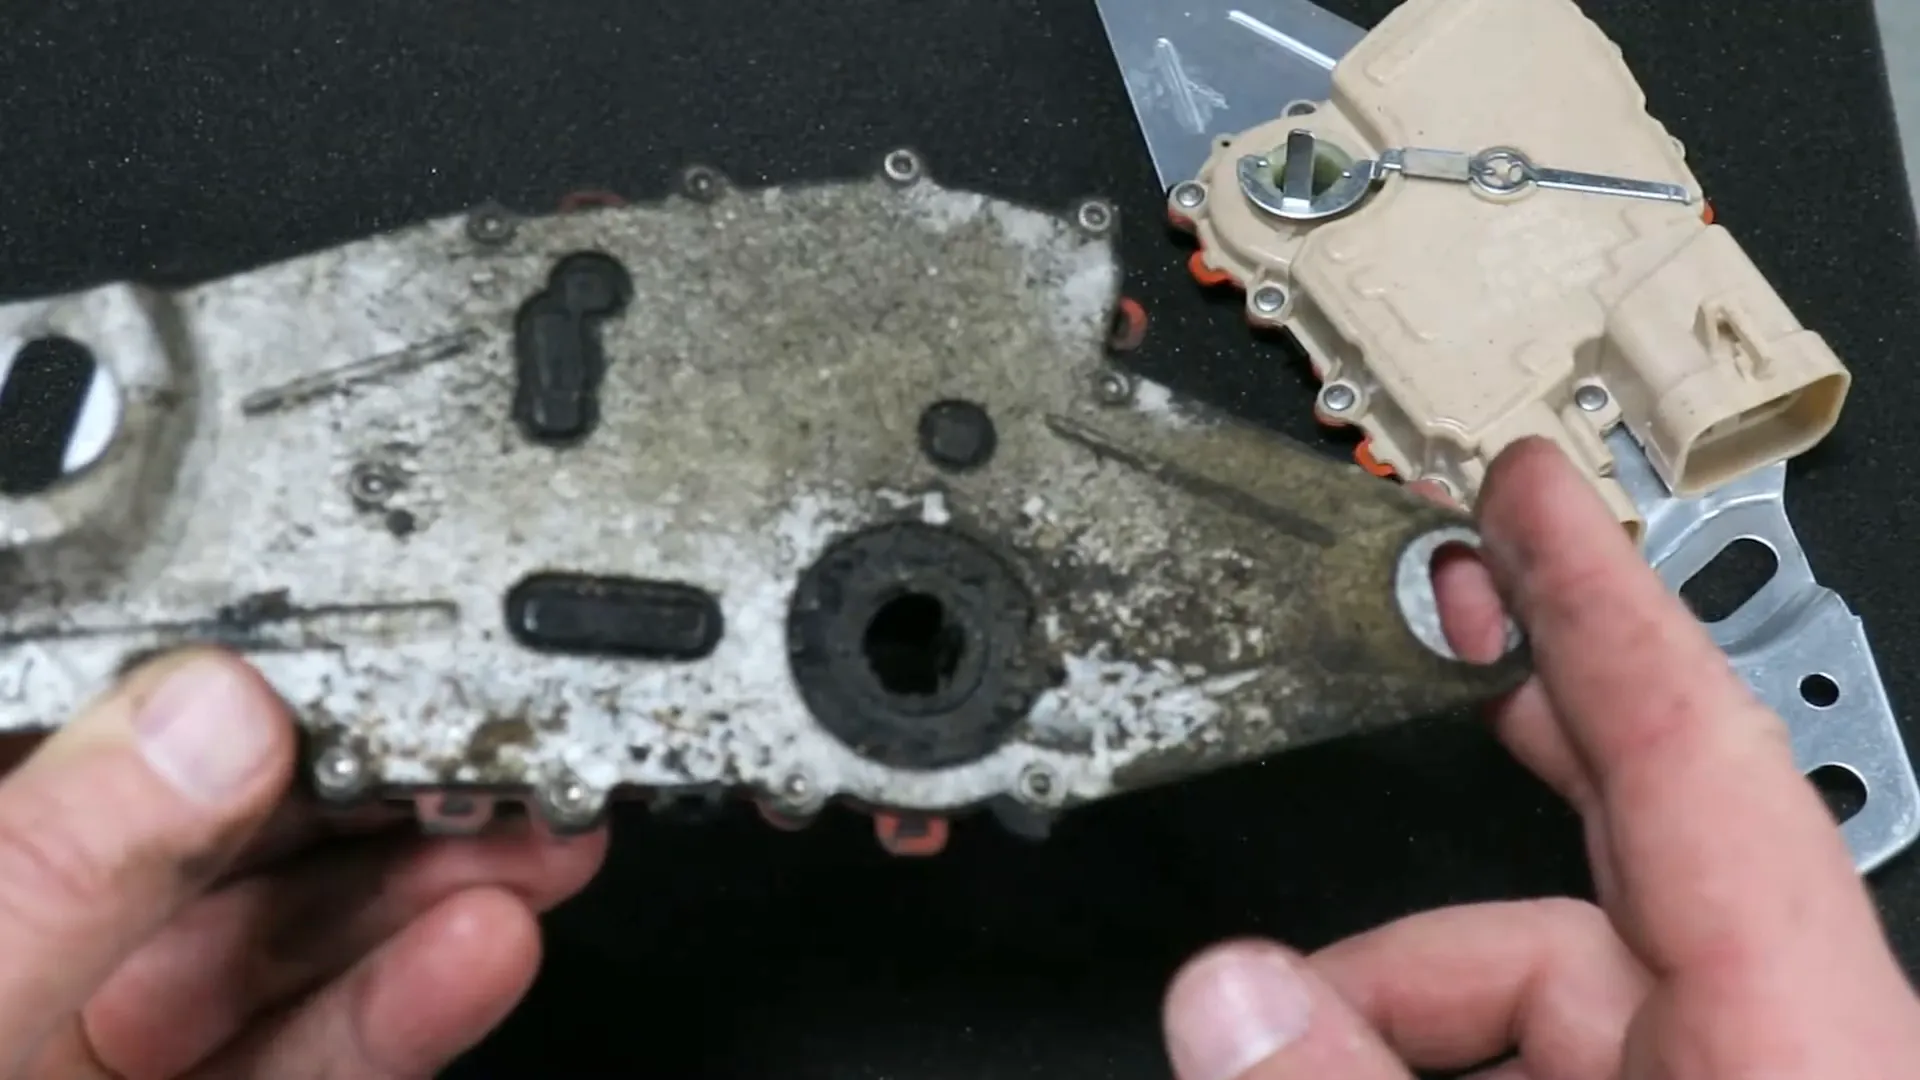
Switch Comparison: New vs. Old
Before installing the new NSBU switch, compare it with the old one from your Allison 1000 series transmission. The new switch includes a foam seal, which is crucial for keeping moisture out and prolonging the switch’s lifespan.
Installing the New NSBU Switch
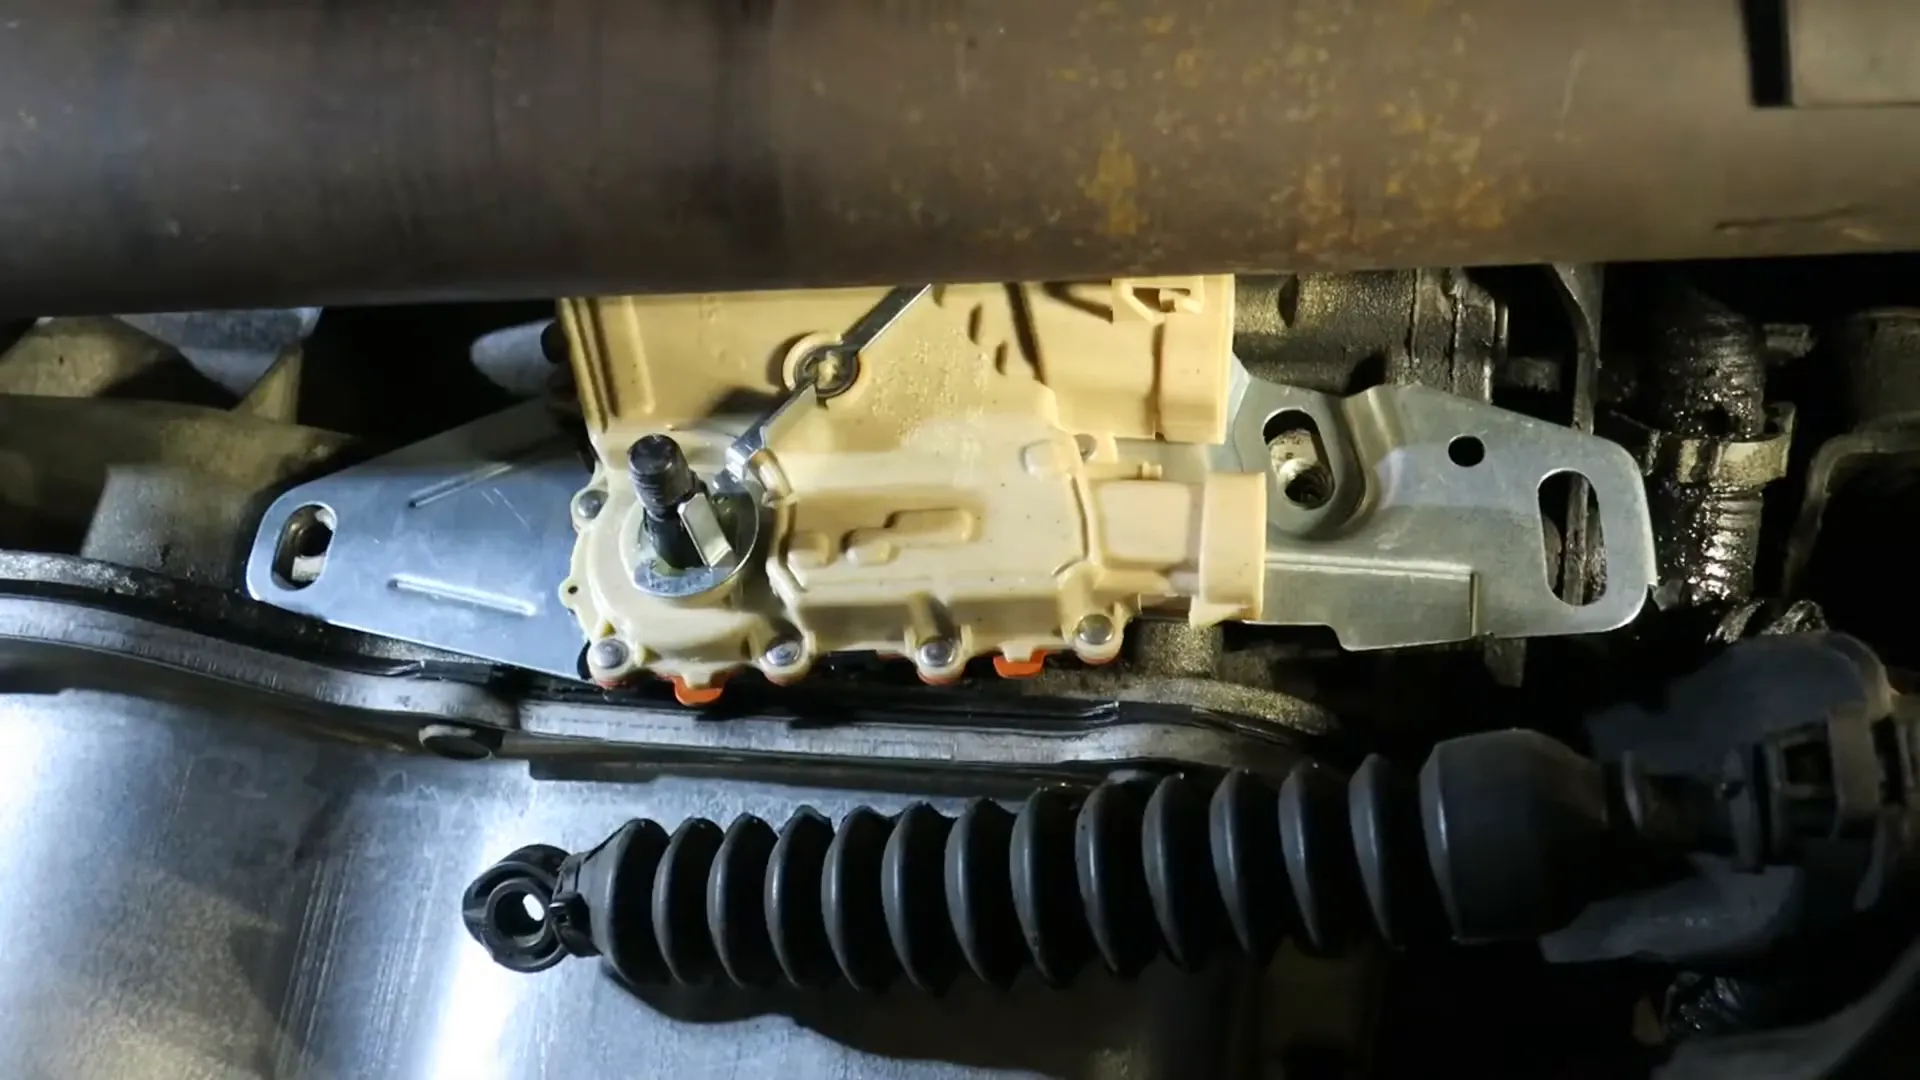
To install the new switch, follow the reverse of the removal steps. Align the flat spots on the shaft with those on the switch, and wiggle it into place until it fits snugly. Tighten the bolts to secure the switch to the Allison 1000 transmission.
Finalizing the Installation
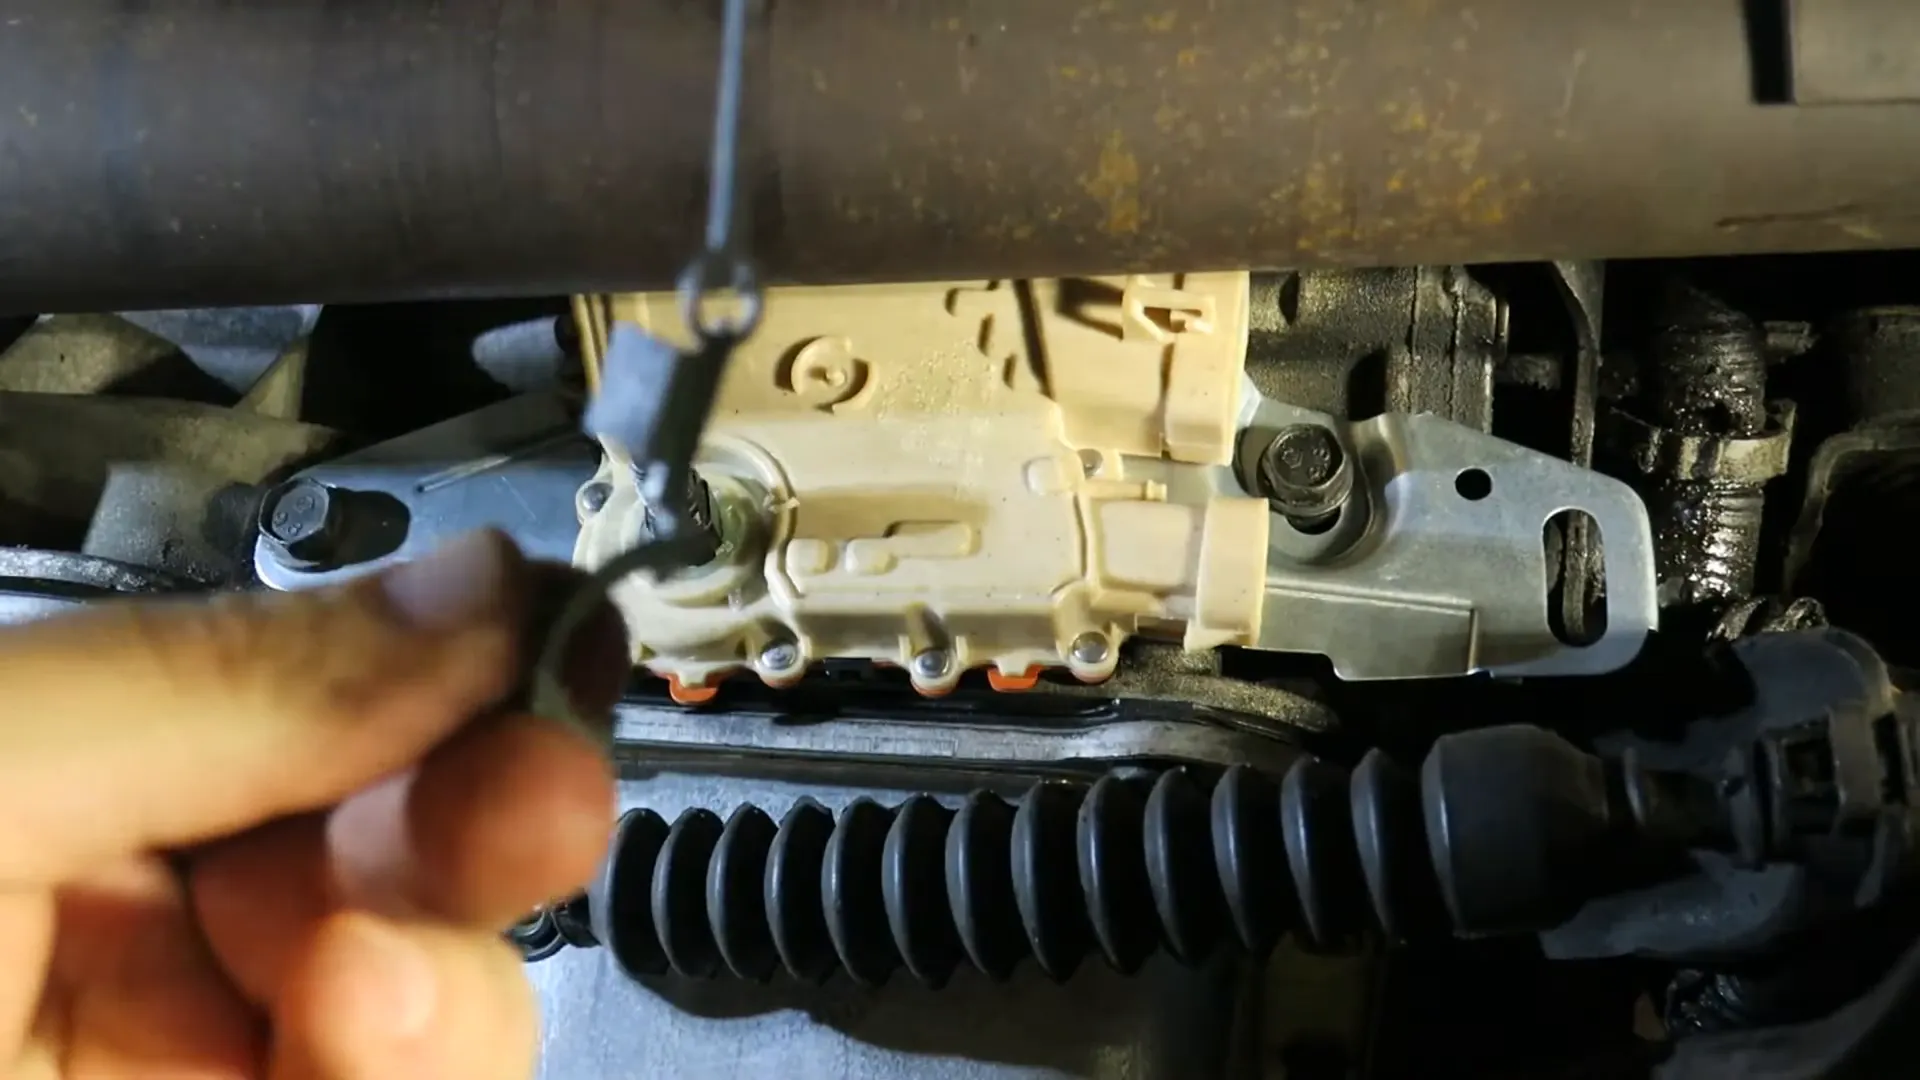
After tightening the bolts, remove the metal clip that holds the switch in the neutral position. Reinstall the shift lever, ensuring that the plastic shield is back in place to protect the switch from dirt and moisture on your GM Duramax or 8.1 equipped Silverado/Sierra.
Reconnecting the Wire Connectors
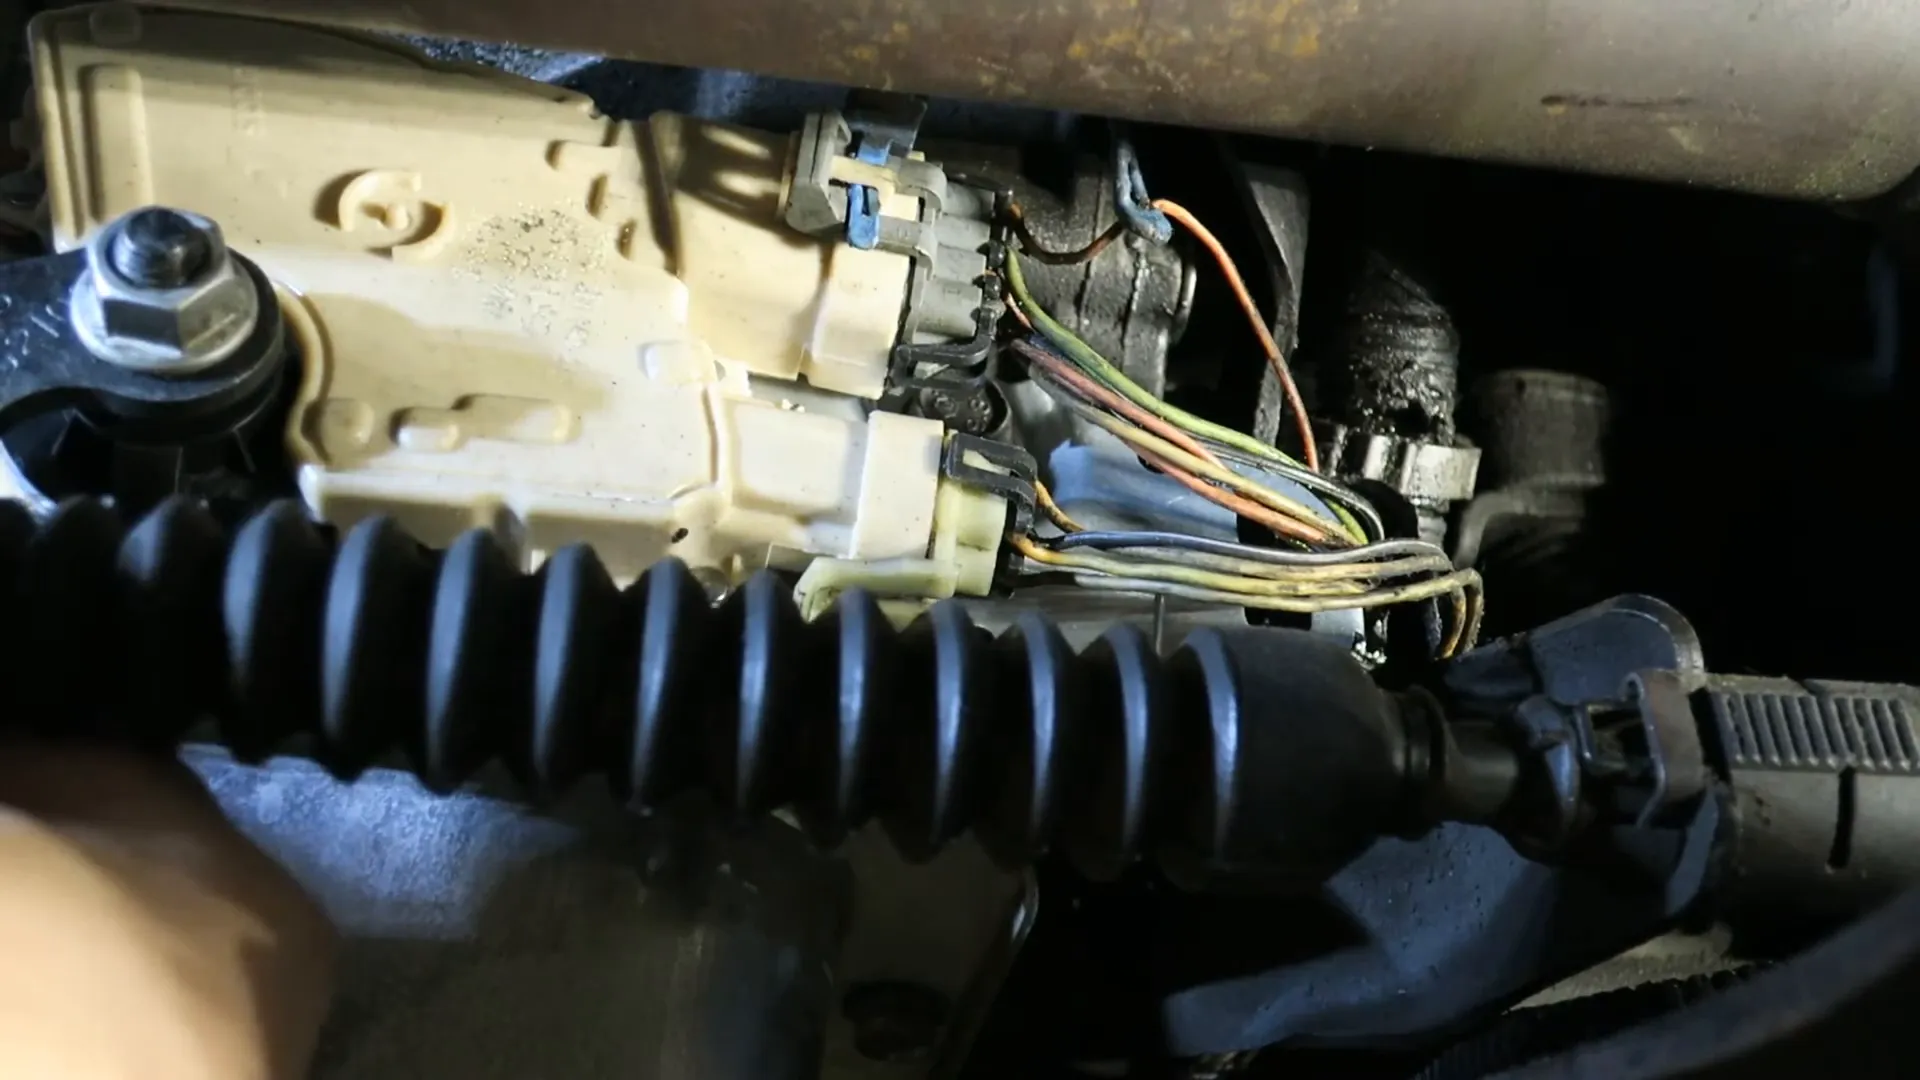
Finally, reconnect the wire connectors to the new NSBU switch. If the sealer is still too hard, use the heat gun again to soften it, ensuring the connectors fit securely. A snug connection is key to proper function for your Allison 1000 transmission.
Completing the Job
Reinstall the shift linkage, and your Allison 1000 series transmission is now equipped with a new NSBU switch. You’ve successfully completed the installation, improving the overall performance and reliability of your GM Duramax or 8.1 equipped Silverado/Sierra.
Common Issues and Troubleshooting
- No Start Condition: If your GM Duramax or 8.1 equipped Silverado/Sierra won’t start, verify that the wire connections are tight.
- Incorrect Gear Display: Ensure the shift lever is properly positioned to avoid dashboard errors.
- Shifting Issues: Double-check that the switch is securely seated and all connectors are properly attached.
Where to Get Replacement Parts
To replace the NSBU switch on your Allison 1000 transmission, check out the reliable parts available at Merchant Automotive. Also, consider replacing the harness connectors with their NSBU Connector Repair Kit for a complete repair job.


